
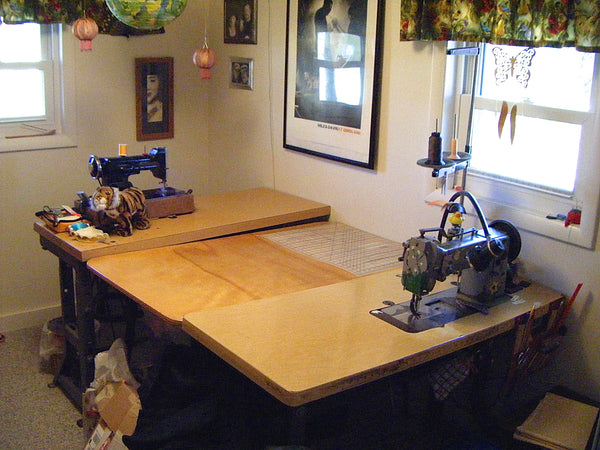
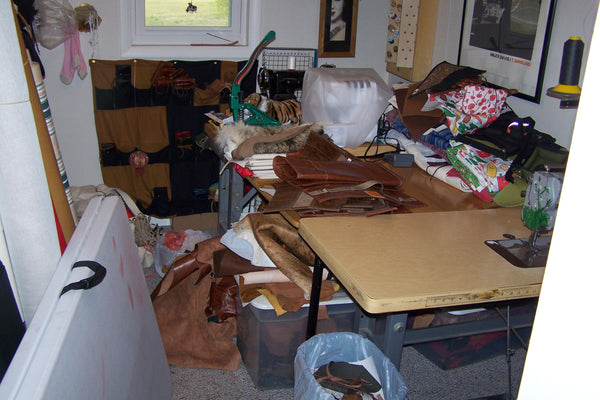
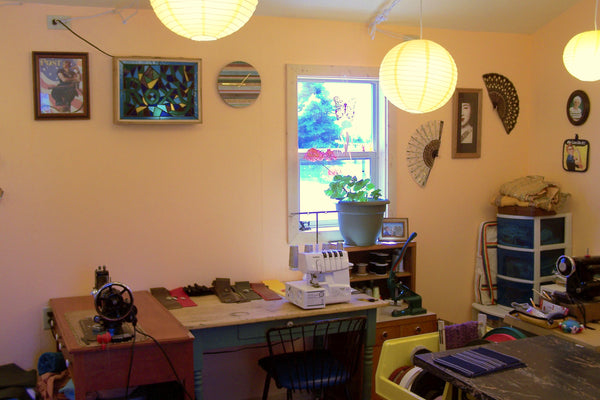
When we first went full time on the business, I sewed in a 7 x 10 foot room. The above photo was right after we moved in, as you can see below, it quickly spiralled into barely contained chaos.
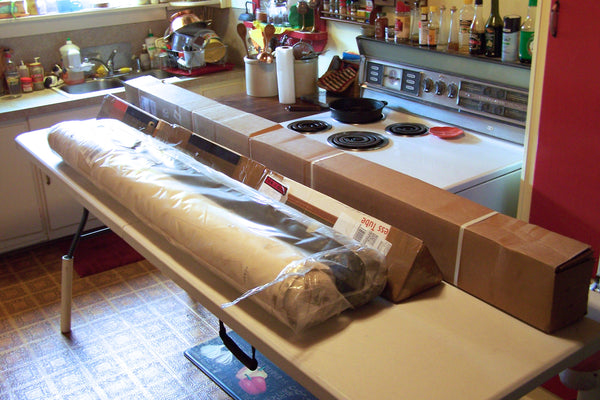
Cutting was a chore, as I had to take over our kitchen one day a week. An 8 foot folding table nearly filled the available space, and it was challenging to work with my large rolls of fabric.
Last year we decided to take the plunge on a new shop space where I could cut, sew and store product. It needed to be large enough for a 5 x 8 foot cutting table, work stations for all four of my machines, and of course, room for my ever increasing fabric stash.
Enter Griffin Creek Structures, who made and delivered the little shed we bought when we first moved into our house. We carefully mapped out where we could place the building on our small lot, with an eye to getting the largest one we could. It worked out to be a 14 x 20 foot building, and I opted for 3 windows, a man door with window and insulated floors.
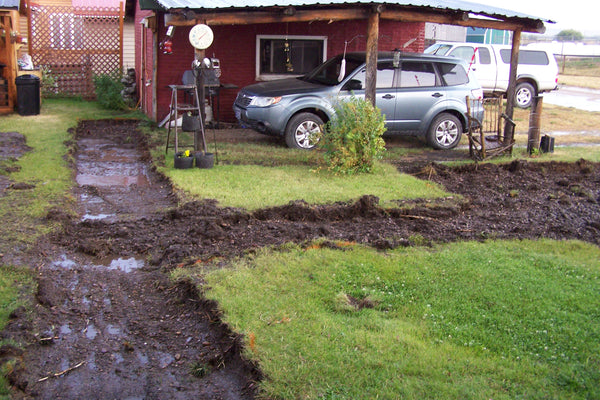
While we waited for the building to arrive, there was the matter of preparing the spot. A local friend performed all of the excavation in 2 days. We would finally have a sidewalk from our back door to Clint's shop, and a pad large enough for my shop and a small patio.
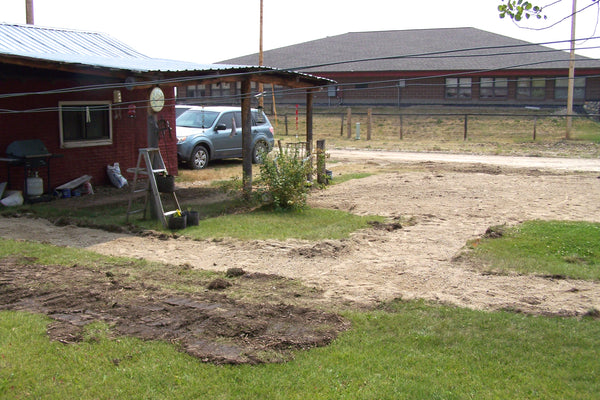
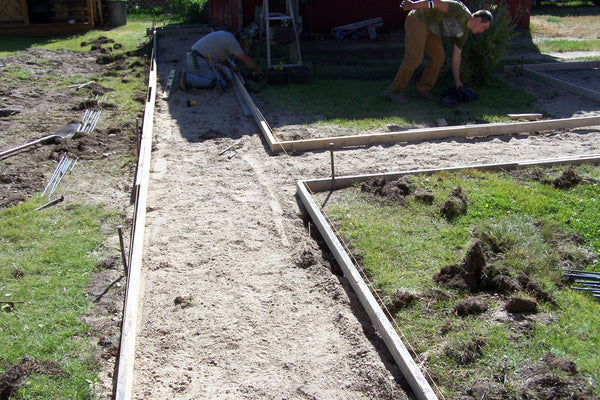
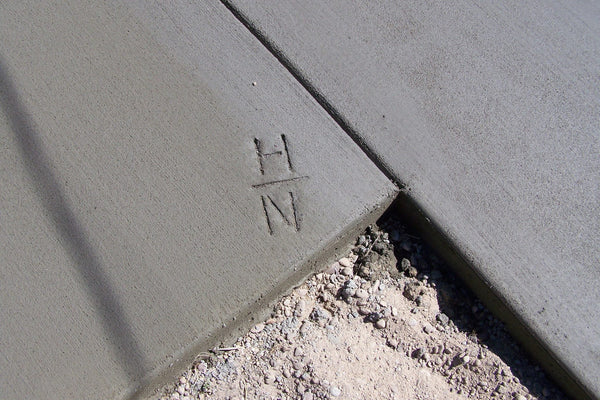
Getting service folk out to Wisdom is not an easy matter. We are 70 miles from anywhere, and people don't often want to make the drive to perform work. We were very lucky that Done Right Foundations out of Hamilton were willing to bring and lay our cement. A few hours of work and it would cure in time for the building to be delivered!
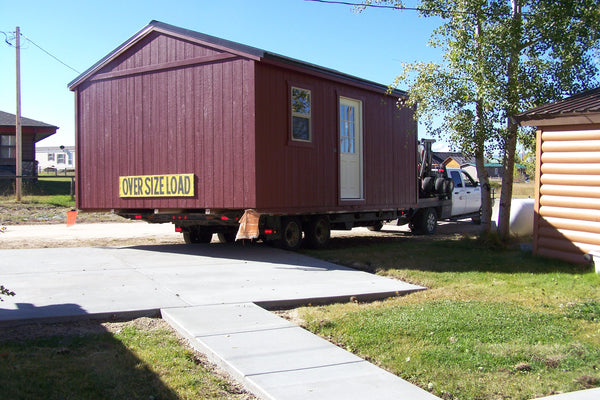
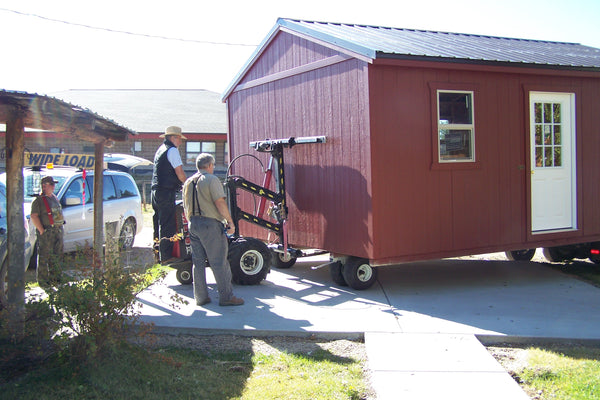
Our building arrived September 28th, 2017. Watching the guys from Griffin Creek install one of these is truly fun! The kids at school that day enjoyed watching from across the street too.
The building comes on a flat bed truck, which backs up to the site. They then use a combination of a two-wheeled mule and the articulating bed of the truck to move the building into position.
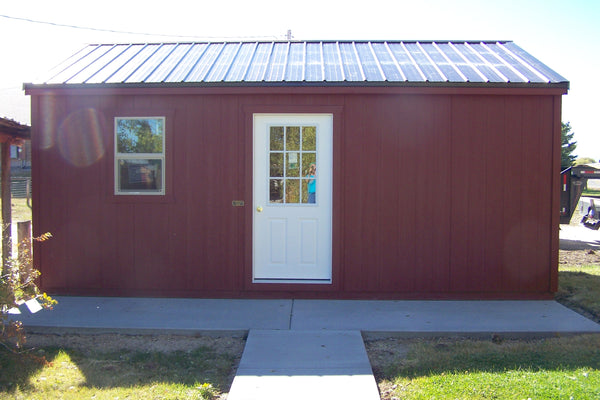
With the new shop in place, now we had to make plans to finish the interior.
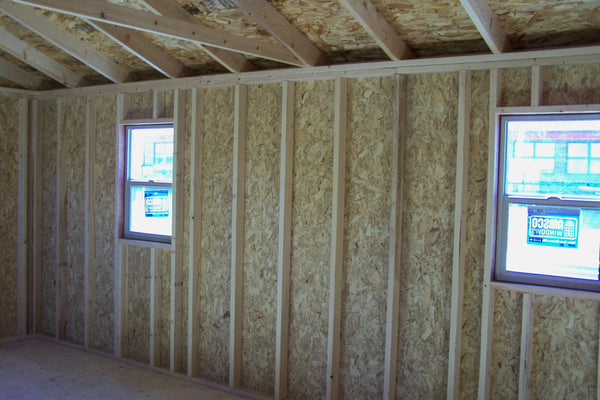
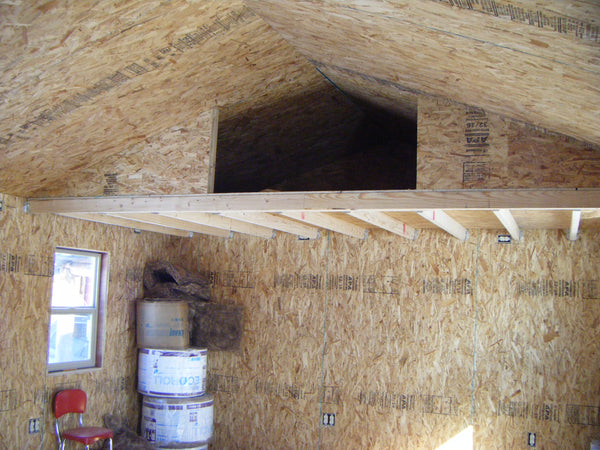
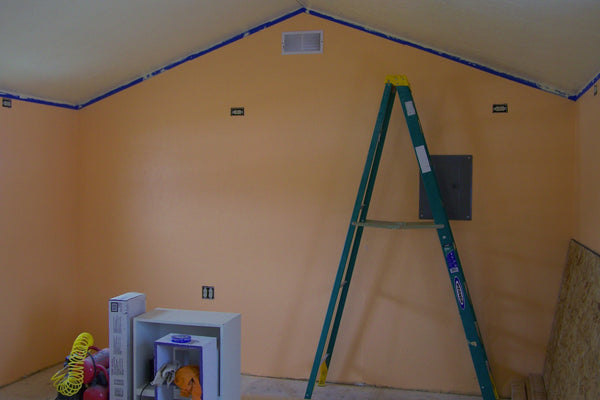
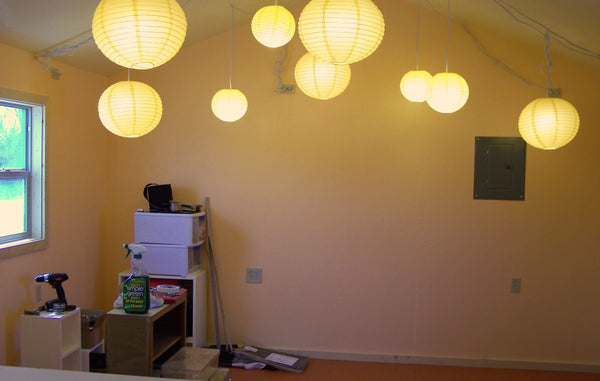
Step one was getting our power put in. I would need lots of outlets for my machines, heaters and fans. I would also need to figure out how I was going to light it. I am not a big fan of fluorescent lighting, but I wanted this shop to be bright. There would be a loft on one end for storage, which would bring my lighting closer to the cutting table, but I wanted to maintain the rest of the ceiling at its original height. My initial plan was for plug in swag lamps and track lights, so we planned for outlets all the way around the top of the wall.
Another local fellow was kind enough to do the wiring for us in trade for me making him a boat cover. The wiring was finished up to the point it had to be hooked into the house, then we had a bit of a problem.
I broke my finger.

Side note: When you sew for a living, it's a bad idea to use a power auger in rocky, aspen root-filled ground, no matter how badly you want to plant those tulips.
I went in for surgery on my 40th birthday, and spent the next 4 weeks with a cast on my right arm. This was easily one of the worst experiences of my life. Having Clint to take care of me, and good books to keep from going stir crazy, got me through it. The cast came off 2 weeks before Christmas, and I started sewing again immediately. I had a lot of stock to catch up on, and some wonderfully patient customers who waited on their custom pieces until I was functional. By the end of January, I was itching to get going on the shop again.
I mentioned how difficult it is to get people out here to work on things, and winter compounds the problem. I made lots of phone calls to no avail, then serendipity came into play. I went down to the Antlers Saloon one day to pick up a pizza for dinner. I chatted with the bartender about the new shop, and she recommended a local man I didn't know. I know it sounds strange to not know everyone in a town of 100, but it is the case! I left him a message, and 3 days later he called back.
I can't say enough about Adam. After that Friday call, he was in the Bitterroot Valley for the weekend (just west of us) and called about insulation pricing. On Tuesday he arrived at 9 am and things began to move again.
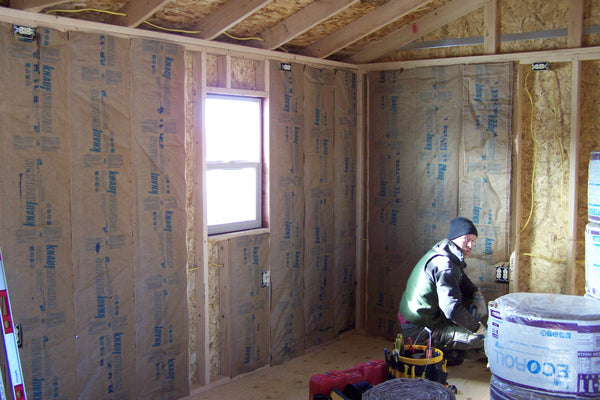
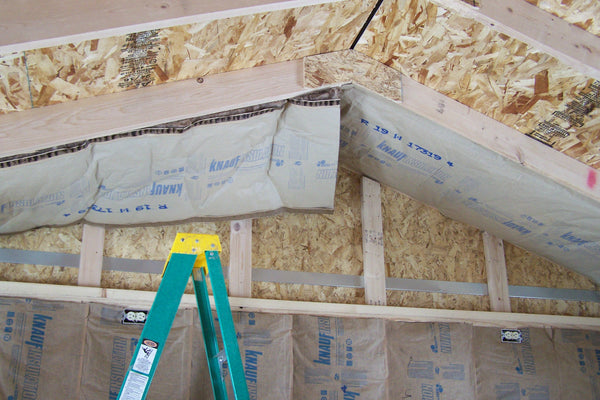
Insulation was complete by the end of the week and he was ready to start hanging OMD.
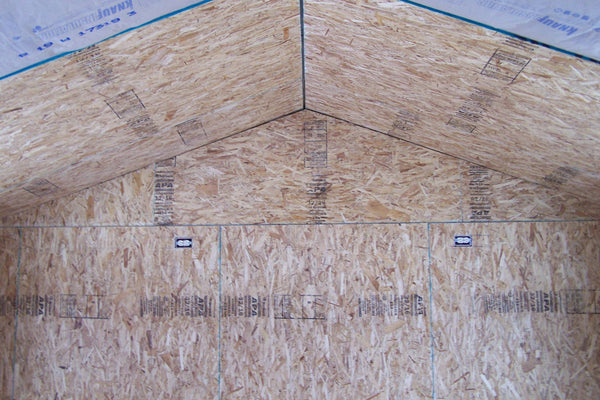
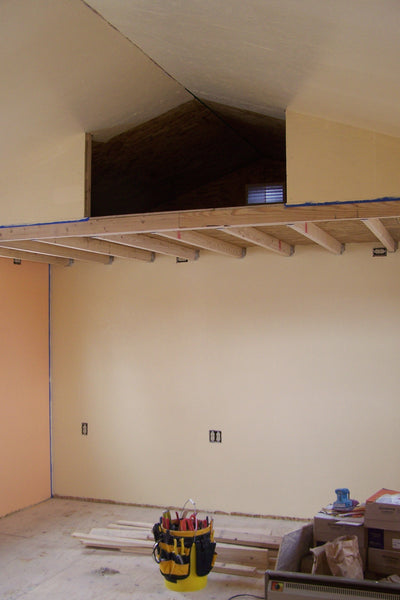
Once the walls and ceiling were done, he built my storage loft. The power was hooked up at this point as well.
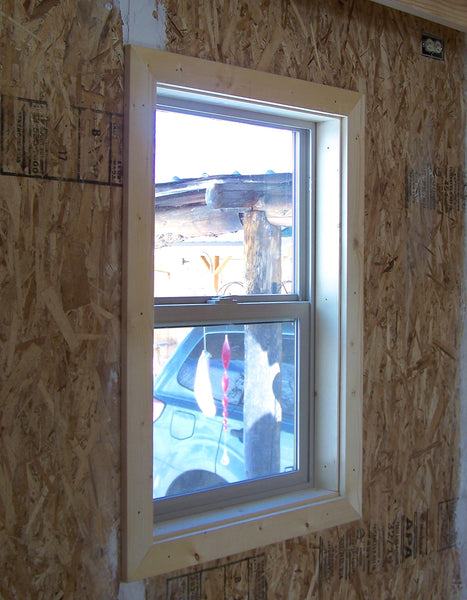
Then, on to framing the windows and door...
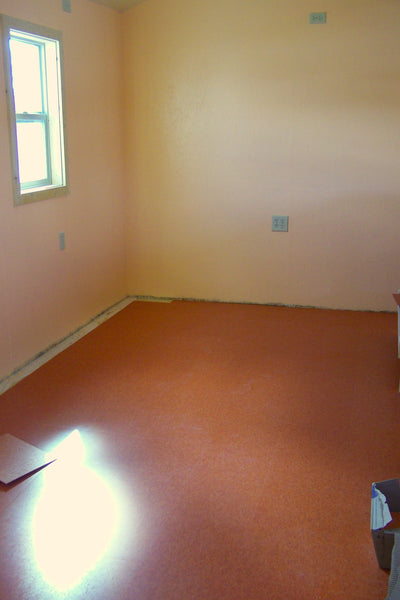
At last, we were to the most exciting part... COLOR!!!
To go with my beautiful orange and cream walls, I needed a spiffy floor. We chose Armstrong luxury vinyl tile in pumpkin, and Adam brought over a friend to help with the installation.
The floor and trim boards went in in two days. Next up, my big beefy cutting table. My plan was for a 5' x 8' table, 40 inches high, with a shelf on one end for fabric storage. The other end would have an opening large enough for a small dresser in the front, behind which I could stack my tubs of fabric and product.
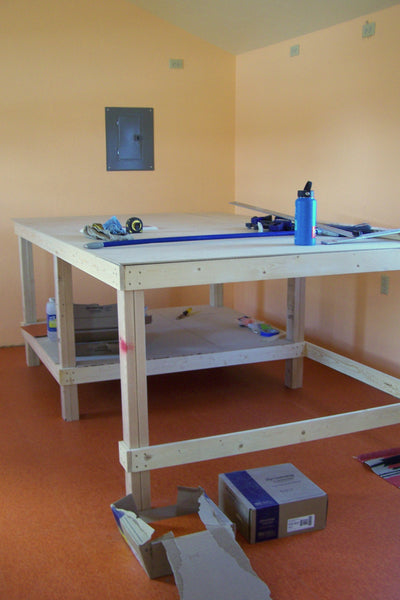
Over the following weekend I cleaned and waxed the floor where the cutting table was going to sit permanently. When Adam returned, we moved it into place and he glued down the top. I cleaned and waxed the other half of the floor while the glue set, then I was ready to start moving in!
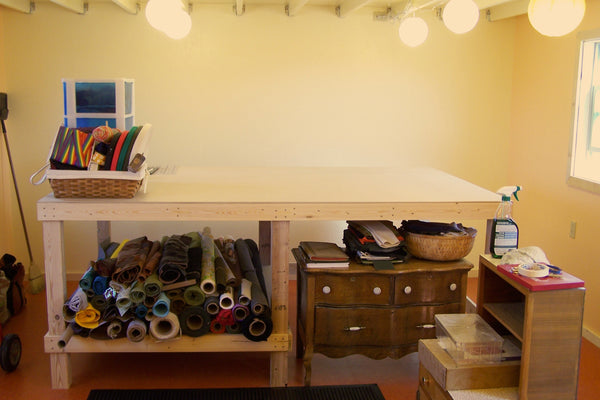
I had discovered by now that plug in track lights weren't meant to be installed on the ceiling, and I wasn't having much luck finding swag lamps in sufficient number. I decided to go with paper lanterns on cords. They could be hung at varying heights, and I could get several colors to add to the fun factor.
Now, the trickiest part: Would everything fit?
Four machines with tables, endless tubs of product and fabric, a steamer trunk, 3 shelving units and a set of stacking drawers...would my back give out before we were through?
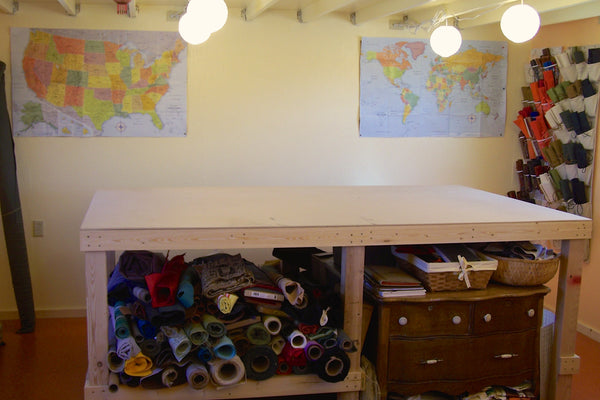
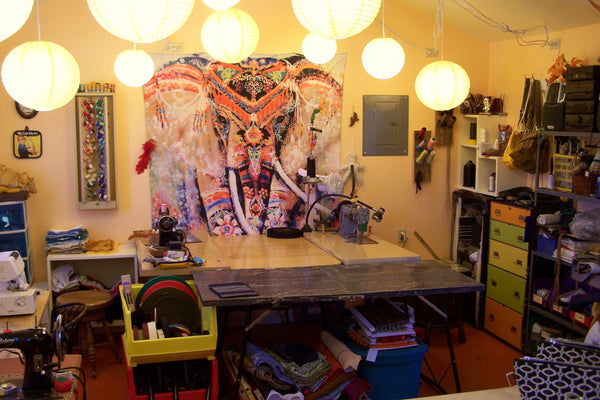
My new cut shop took shape quickly.
I finally had stations for my vintage White Rotary and my serger.
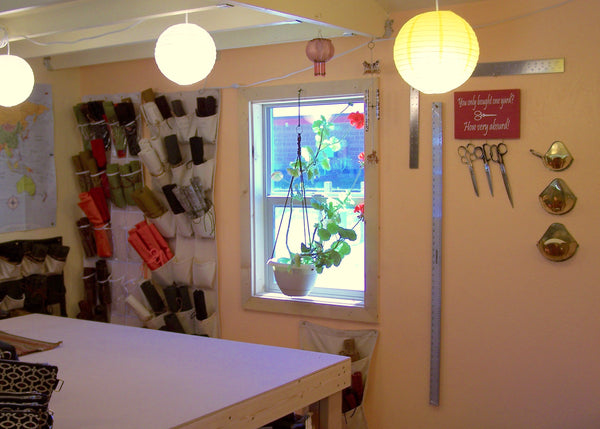
I had so much more space sitting at the helm of Irene, my beloved Adler industrial. I think it might be the best seat in the house! My friend BriAnne calls this my Imaginarium.
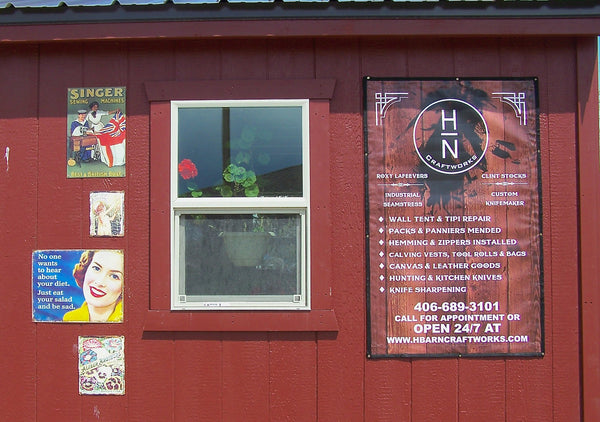
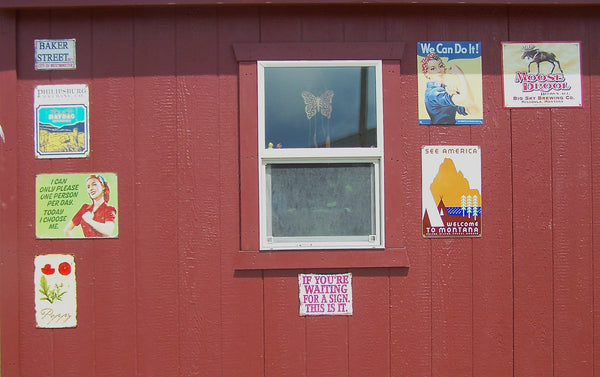
A few additions to the outside...
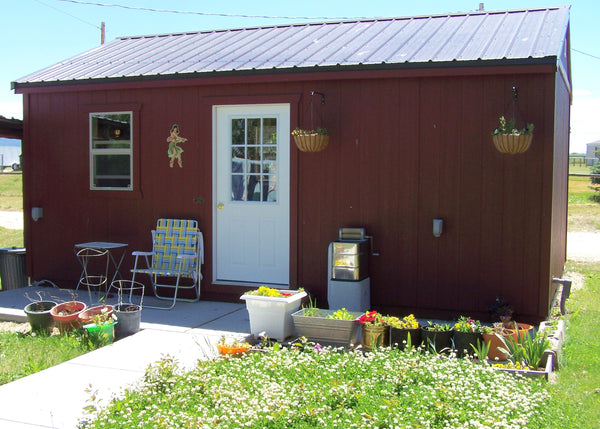
Move in was complete in April. Everything is working out so well, it was worth the wait. I hope you enjoyed seeing the process from lawn to Imaginarium!